Studio clay
A sealed bag of freshly wedged clay, ready for hand-building.
 studio boutique
A pottery studio, by post
Make slowly, wherever you are. We send the clay and tools; you send your finished piece back to our kiln.
Price and first release date will be announced shortly.
Inside the box
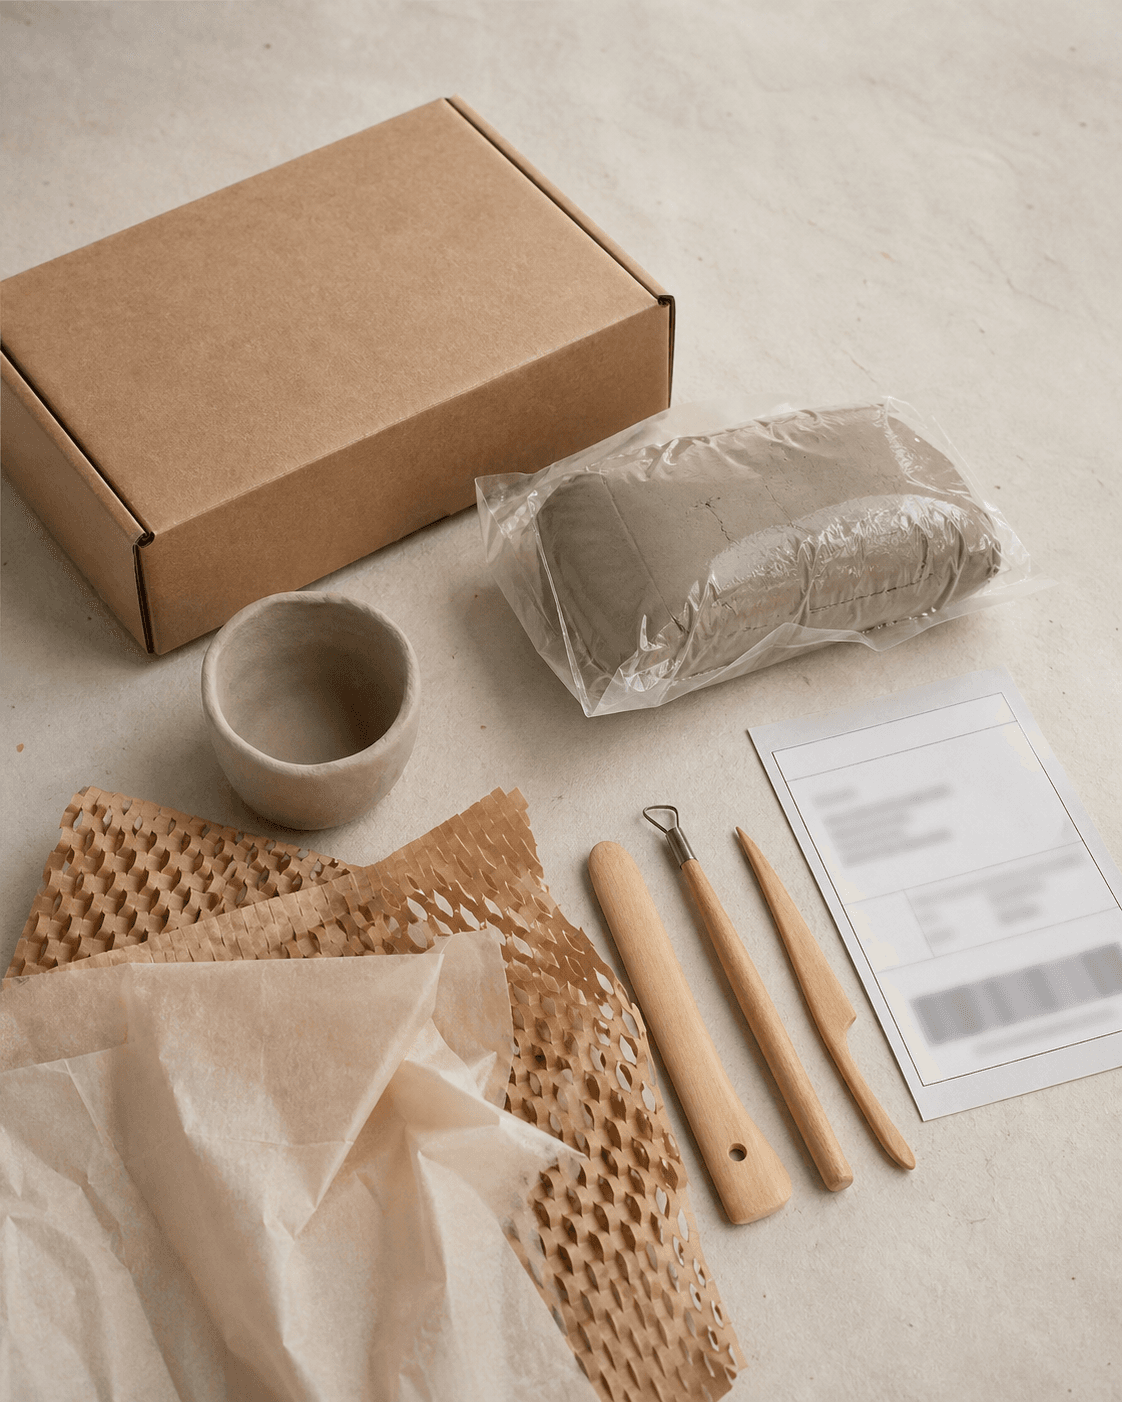
A sealed bag of freshly wedged clay, ready for hand-building.
A compact set for cutting, smoothing, joining, and adding texture.
A right-sized mailer, tissue, honeycomb wrap, and cushioning.
Your return label is printed and included—no printer required.
From your table to our kiln
Unpack the clay and tools. Keep every piece of return packaging somewhere dry.
Pinch, coil, or sculpt one small piece. Follow the enclosed guide for safe thickness and joins.
Leave the piece uncovered until it is pale, room-temperature, and completely bone dry.
Wrap it carefully, attach the included label, and send it back to our studio.
We inspect, fire, and finish your piece, then arrange its journey home.
The return ritual
Dry clay is fragile. Take your time here—the wrapping materials in your kit are designed to be reused for the return trip.
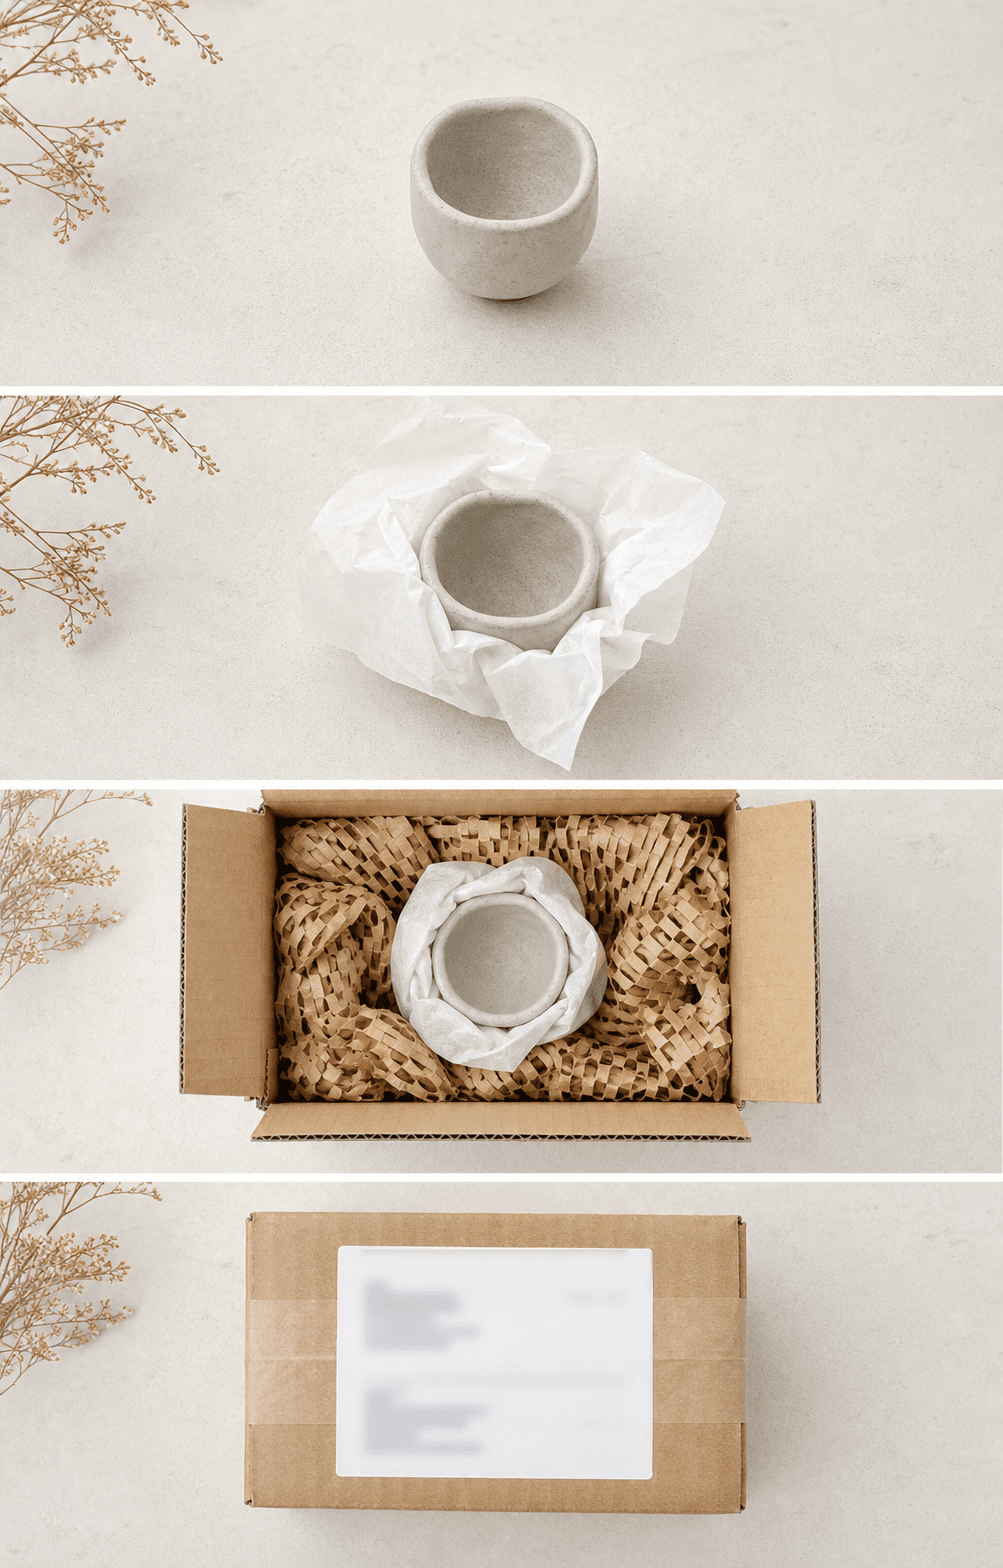
Your piece should look evenly pale and no longer feel cool against your cheek. Never mail damp clay.
Loosely cover the whole piece, filling delicate openings without pressing on handles or details.
Nest it in the centre of the box with at least 5 cm of padding above, below, and around it.
The piece should not shift when the box is gently moved. Tape the box and cover the old label with the prepaid return label.
Good to know
No. This is real ceramic clay that air-dries before travelling, then needs to be kiln-fired at SAH Studio. “Bone dry” describes the clay before firing—it does not mean the piece is finished yet.
Small pinch pots, dishes, ornaments, and simple sculptures are ideal. Avoid very thick forms, sealed hollow shapes, and delicate unsupported handles.
Usually 7–14 days, depending on thickness and humidity. Thick or enclosed areas take longer. When in doubt, give it more time.
Ceramics always carries some risk. Trapped air, moisture, very thick clay, or shipping damage can cause cracks or breakage. The guide helps you make and pack with the best chance of success.
First batch · Coming soon
Follow SAH Studio on Instagram for the launch date, price, and first limited release.
Keep exploring the boutique →